Pages

19 December 2011

A Multi Use Building for Drexel's Master Plan

I recently just finished another term at Drexel. This term was the culmination of a project that lasted almost an entire year. Starting with Master Planning to site design and progressing through programming and detailing, this was probably the most detailed architectural design process I've gone through at Drexel. The project description is as follows:

Drexel University is implementing a new, comprehensive Master Plan with the vision of creating an implied, visual connection within the school's urban campus layout. Additionally the plan aims to increase its presence on Market Street, provide sustainable and easily accessible facilities, and provide a connection between the campus and the surrounding community. The existing conditions on the site consist mainly of parking, JFK Boulevard, 30th Street Station to the east and a rail yard to the north. The site is also bisected by the overhead train tracks and trestle. Some of the sites strongest qualities include its east/west axis, views of center city and the art museum, and it's setting on the campus, which lends itself well to serving as a "gateway" to the community. The plan developed for Precinct K includes the "pedestrianizing" of JFK Boulevard (while still allowing emergency and off-hour vehicular access), providing a "New" Arch Street along the rail yard on the north portion of the site, a parking garage with lower level retail, an iconic, focal building, and a multi-use building.

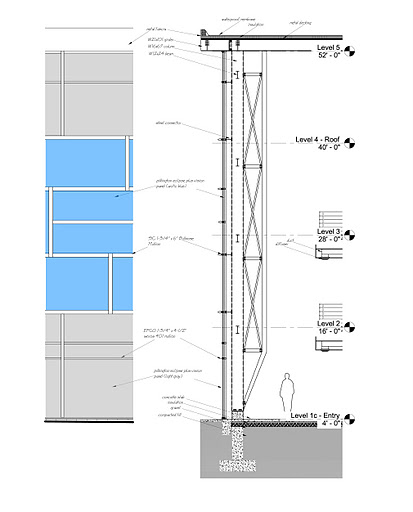
The multi-use building, which will occupy the plot bordered by a 24 hour hub of activity, icon building on the west and the train trestles to the east, is planned to be an incubator, bench-to-business type building with flexible spaces that allow for changing uses over time.  Starting from scratch, the project included siting the building, developing use and program, designing structural and mechanical systems, and incorporating sustainable design principles throughout. Inspired by a QR Code, the building’s random patterning seen in plan and elevation is an architectural representation of the rapid growth of technology and Drexel’s desire to be at the forefront of this growth. 


18 December 2011

A Multi Use Building for Drexel's Master Plan

I recently just finished another term at Drexel. This term was the culmination of a project that lasted almost an entire year. Starting with Master Planning to site design and progressing through programming and detailing, this was probably the most detailed architectural design process I've gone through at Drexel. The project description is as follows:

Drexel University is implementing a new, comprehensive Master Plan with the vision of creating an implied, visual connection within the school's urban campus layout. Additionally the plan aims to increase its presence on Market Street, provide sustainable and easily accessible facilities, and provide a connection between the campus and the surrounding community. The existing conditions on the site consist mainly of parking, JFK Boulevard, 30th Street Station to the east and a rail yard to the north. The site is also bisected by the overhead train tracks and trestle. Some of the sites strongest qualities include its east/west axis, views of center city and the art museum, and it's setting on the campus, which lends itself well to serving as a "gateway" to the community. The plan developed for Precinct K includes the "pedestrianizing" of JFK Boulevard (while still allowing emergency and off-hour vehicular access), providing a "New" Arch Street along the rail yard on the north portion of the site, a parking garage with lower level retail, an iconic, focal building, and a multi-use building.

The multi-use building, which will occupy the plot bordered by a 24 hour hub of activity, icon building on the west and the train trestles to the east, is planned to be an incubator, bench-to-business type building with flexible spaces that allow for changing uses over time.  Starting from scratch, the project included siting the building, developing use and program, designing structural and mechanical systems, and incorporating sustainable design principles throughout. Inspired by a QR Code, the building’s random patterning seen in plan and elevation is an architectural representation of the rapid growth of technology and Drexel’s desire to be at the forefront of this growth. 


16 December 2011

Away in the Workshop, Away in a Manger - Part II

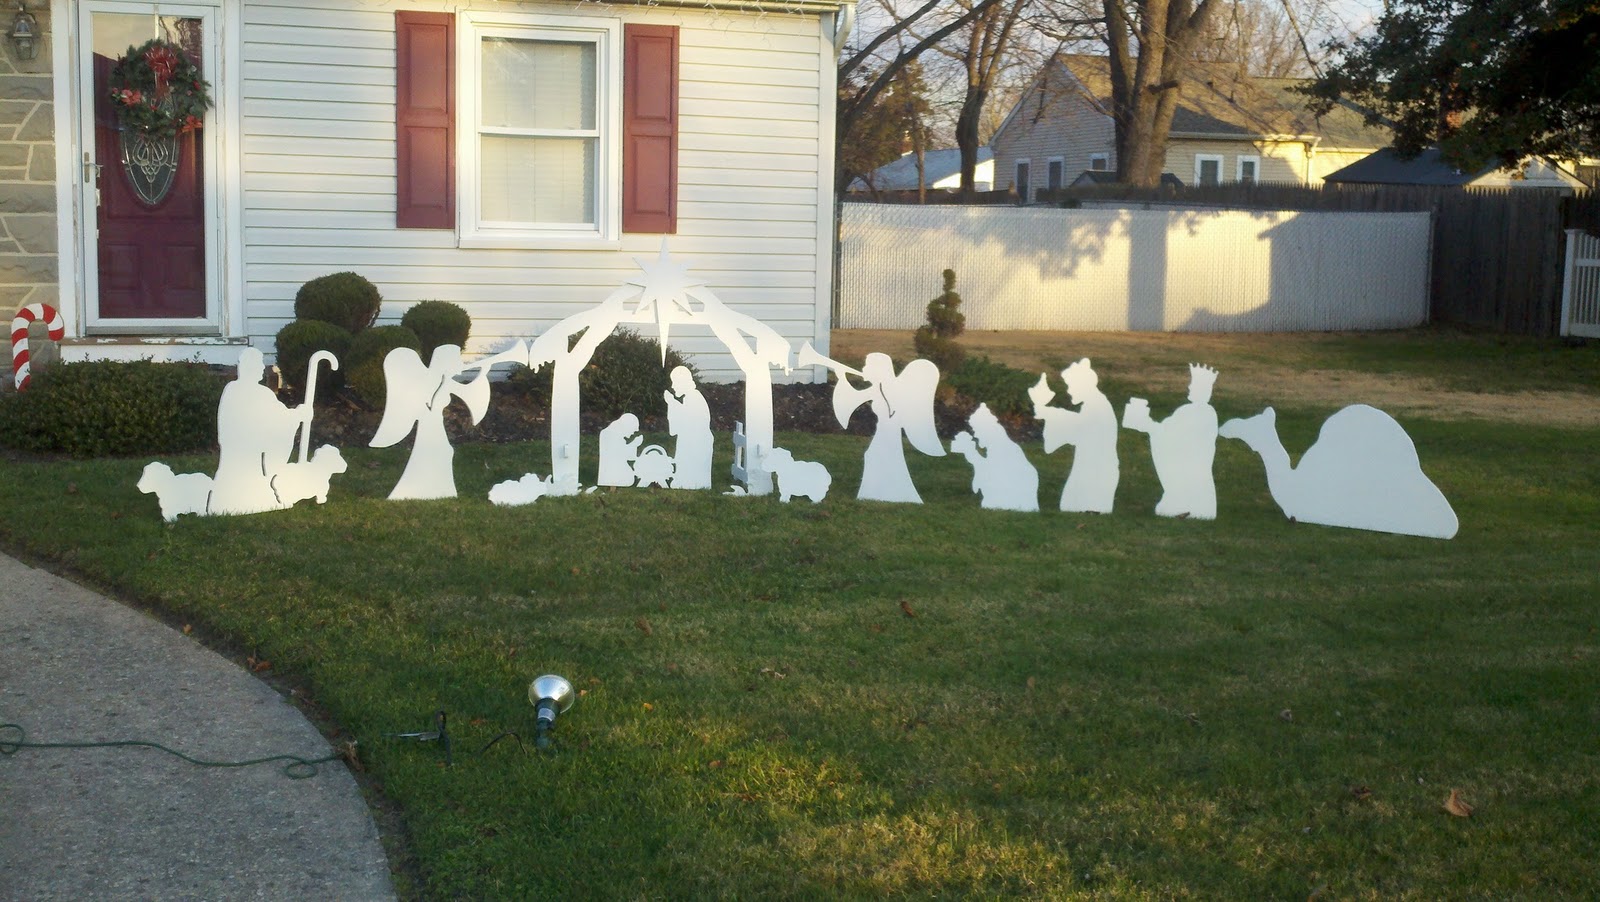
With almost a full two weeks to go before Christmas, the Manger scene is complete! Now I have to figure out where to keep it the other 11 months of the year...Next project, a candle box. 


Away in the Workshop, Away in a Manger - Part II

With almost a full two weeks to go before Christmas, the Manger scene is complete! Now I have to figure out where to keep it the other 11 months of the year...Next project, a candle box. 


15 December 2011

Away in the Workshop, Away in a Manger

One of the unfortunate side effects of being an architecture student while concurrently having a full time career is the complete lack of anything that even remotely resembles "free time" (hence the lack of blog posts). However, I was recently able to sneak away from the omnipresent due dates and deadlines to spend some much needed time in the workshop (aka my garage). 

For the past couple years, the wife has been dropping hints that she wanted a new outdoor manger scene as part of our front yard Christmas decorations. A few weeks before her birthday, I started looking into my options. Not knowing what to expect as far as costs, my first stop was to eBay and Amazon to see what I would have to spend to buy one. To my surprise, I was looking at a couple hundred big ones for just the manger with Mary, Joseph, Jesus and a couple sheep… and north of $500 for the entire scene! So... I decided to build my own. 

My first step was to find something I liked, then model, to scale, my own version.

Next, I modeled in SketchUp a 4'x8' background and placed my individual parts on it to make sure I could get all these pieces out of one sheet of plywood. In this case, I used a 3/4" sheet of plywood having one side faced with maple and the other with birch. It was $50 from Lowe's and, other than the paint I already had, was the only costs associated with the project (not bad compared to the cost of buying I mentioned above which, by the way, did not include shipping).
From my SketchUp model, I exported it into REVIT so I could print a 1:1 scale on paper to use for tracing individual elements on the plywood. For some reason, there was a little bit of an issue with printing and everything came out a little smaller than I had intended. I didn't notice this until everything was cut and I started to lay it out on the plywood.

While this made it a little more difficult to cut in areas with a tight radius, it ended up being a bit of a blessing because, when I later decided to build the entire scene, I only had to buy one additional sheet of plywood instead of two.


The entire time I was working on this project, I was being hounded by the workshop manager. I felt like every time I turned around, he was right there to make sure everything was being built to spec. What a pain…
After everything was cut out, it was time for a test fit. To my surprise, with only minor tweaking from the original design, everything fit together, and stood on its own.  Great Success!
Next came my least favourite part… painting. I'm not a big fan of painting, but it had to be done. The biggest annoyance was painting the edges…

Here he is again… inspecting the paint job.

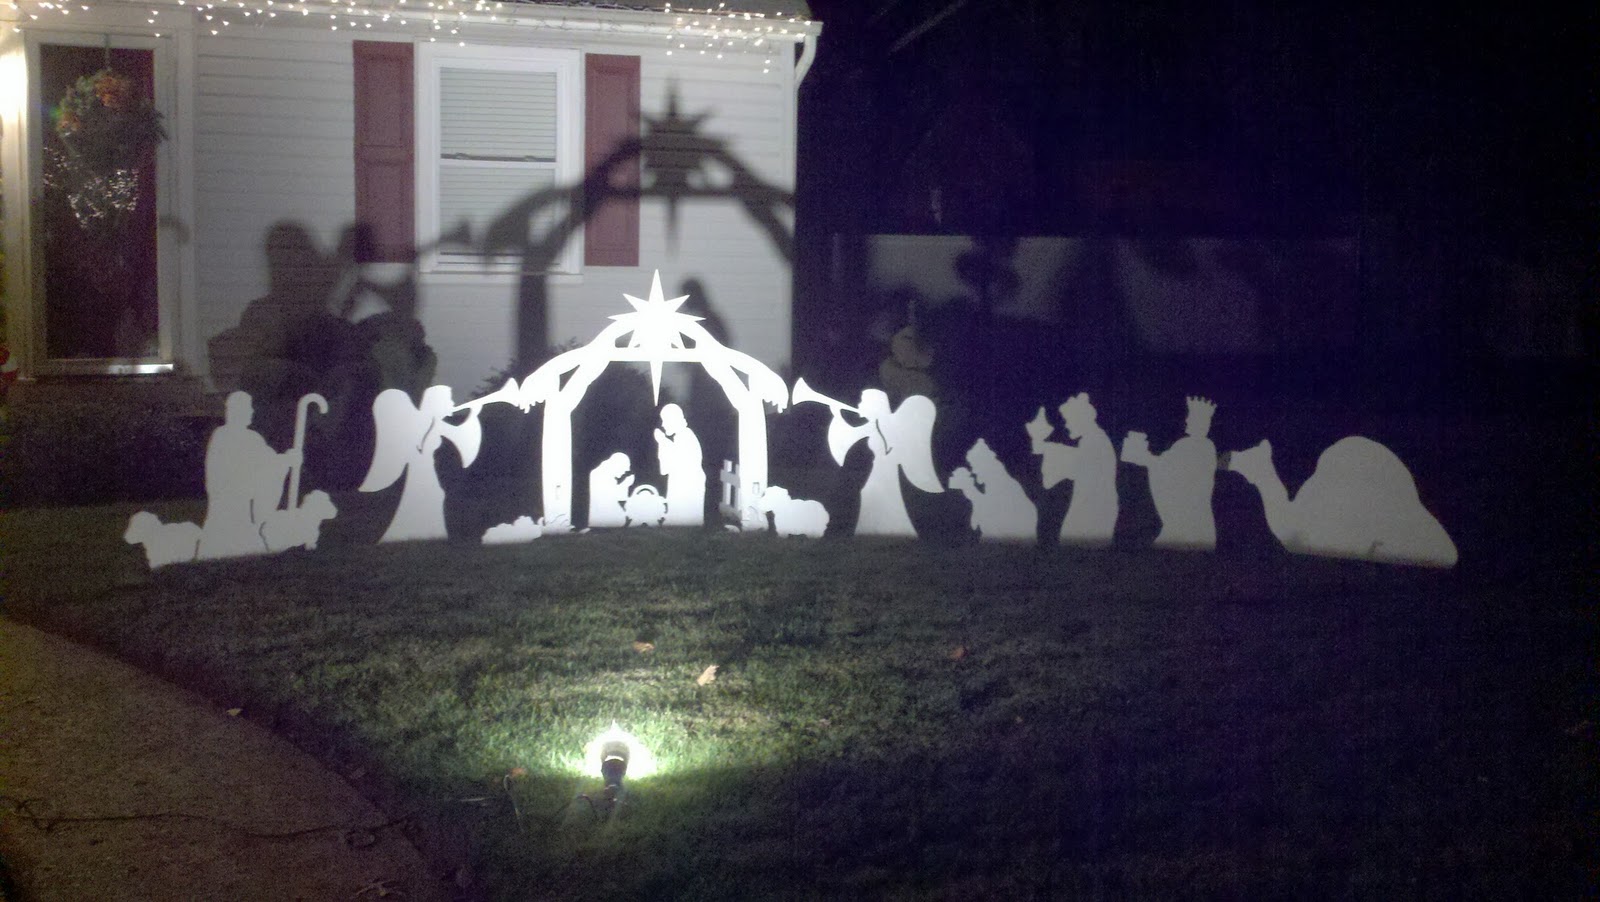
The final product came out pretty nice, I think. I learned, throughout the process, the most difficult part was to hide it for a little over a month until Kelly's birthday. The morning of her birthday though, was fun. I bought a landscape spotlight and wrapped that with her card. After she opened it, I'm pretty sure I got the, "Oh…nice…thanks." But then I told her the rest of the present was outside. I think she liked it =)

Next step… finishing the rest of the scene. I'm racing to get it done before Christmas, but I think I'm in good shape. I'll post a pic after everything is completed.


14 December 2011

Away in the Workshop, Away in a Manger

One of the unfortunate side effects of being an architecture student while concurrently having a full time career is the complete lack of anything that even remotely resembles "free time" (hence the lack of blog posts). However, I was recently able to sneak away from the omnipresent due dates and deadlines to spend some much needed time in the workshop (aka my garage). 

For the past couple years, the wife has been dropping hints that she wanted a new outdoor manger scene as part of our front yard Christmas decorations. A few weeks before her birthday, I started looking into my options. Not knowing what to expect as far as costs, my first stop was to eBay and Amazon to see what I would have to spend to buy one. To my surprise, I was looking at a couple hundred big ones for just the manger with Mary, Joseph, Jesus and a couple sheep… and north of $500 for the entire scene! So... I decided to build my own. 

My first step was to find something I liked, then model, to scale, my own version.

Next, I modeled in SketchUp a 4'x8' background and placed my individual parts on it to make sure I could get all these pieces out of one sheet of plywood. In this case, I used a 3/4" sheet of plywood having one side faced with maple and the other with birch. It was $50 from Lowe's and, other than the paint I already had, was the only costs associated with the project (not bad compared to the cost of buying I mentioned above which, by the way, did not include shipping).
From my SketchUp model, I exported it into REVIT so I could print a 1:1 scale on paper to use for tracing individual elements on the plywood. For some reason, there was a little bit of an issue with printing and everything came out a little smaller than I had intended. I didn't notice this until everything was cut and I started to lay it out on the plywood.

While this made it a little more difficult to cut in areas with a tight radius, it ended up being a bit of a blessing because, when I later decided to build the entire scene, I only had to buy one additional sheet of plywood instead of two.


The entire time I was working on this project, I was being hounded by the workshop manager. I felt like every time I turned around, he was right there to make sure everything was being built to spec. What a pain…
After everything was cut out, it was time for a test fit. To my surprise, with only minor tweaking from the original design, everything fit together, and stood on its own.  Great Success!
Next came my least favourite part… painting. I'm not a big fan of painting, but it had to be done. The biggest annoyance was painting the edges…

Here he is again… inspecting the paint job.

The final product came out pretty nice, I think. I learned, throughout the process, the most difficult part was to hide it for a little over a month until Kelly's birthday. The morning of her birthday though, was fun. I bought a landscape spotlight and wrapped that with her card. After she opened it, I'm pretty sure I got the, "Oh…nice…thanks." But then I told her the rest of the present was outside. I think she liked it =)

Next step… finishing the rest of the scene. I'm racing to get it done before Christmas, but I think I'm in good shape. I'll post a pic after everything is completed.


29 August 2011

Hurricane Irene - Rogue Style in Surf City, NC

This video was taken in Surf City, NC. I'm sure there was some storm surge making the water levels higher than normal, and it was also likely a high tide, but there's something scary about seeing a wave as high as the pier on the beach. I would have hated to be the one standing there watching that monster bear down. Short video, but worth the watch!

[youtube http://www.youtube.com/watch?v=92pBX29a7HU]

28 August 2011

Hurricane Irene - Rogue Style in Surf City, NC

This video was taken in Surf City, NC. I'm sure there was some storm surge making the water levels higher than normal, and it was also likely a high tide, but there's something scary about seeing a wave as high as the pier on the beach. I would have hated to be the one standing there watching that monster bear down. Short video, but worth the watch!