Pages

27 January 2012

Pop's TV Stand

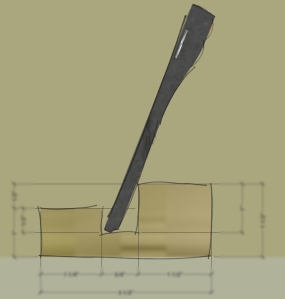
A few days ago, while looking for some inspiration, I picked up a book that a buddy recommended called "The Great Book of Woodworking Projects." While it has a bunch of great projects, many of which I intend to build, I could have saved myself some time and money by looking a little harder at what I already had. The image below was for a TV Stand that my grandfather (aka Pop) built a couple years back. When he was done, I held on to the drawing and taped it into one of my notebooks. With a little help from SketchUp, I modeled the table and came up with a pretty thorough material and cut list, and plan to build the table designed by the man that is inspiration, in one form or another, for almost every project done in the CMG workshop. Now I just need to find someone that needs a TV stand... any takers?

[caption id="attachment_299" align="aligncenter" width="500" caption="Pop's Plan"][/caption]


[caption id="attachment_302" align="aligncenter" width="500" caption="Pop's Finished Product"][/caption]

[caption id="attachment_304" align="aligncenter" width="500" caption="CMG Workshop Plan"][/caption]

23 January 2012

Recycled Gadget Stand


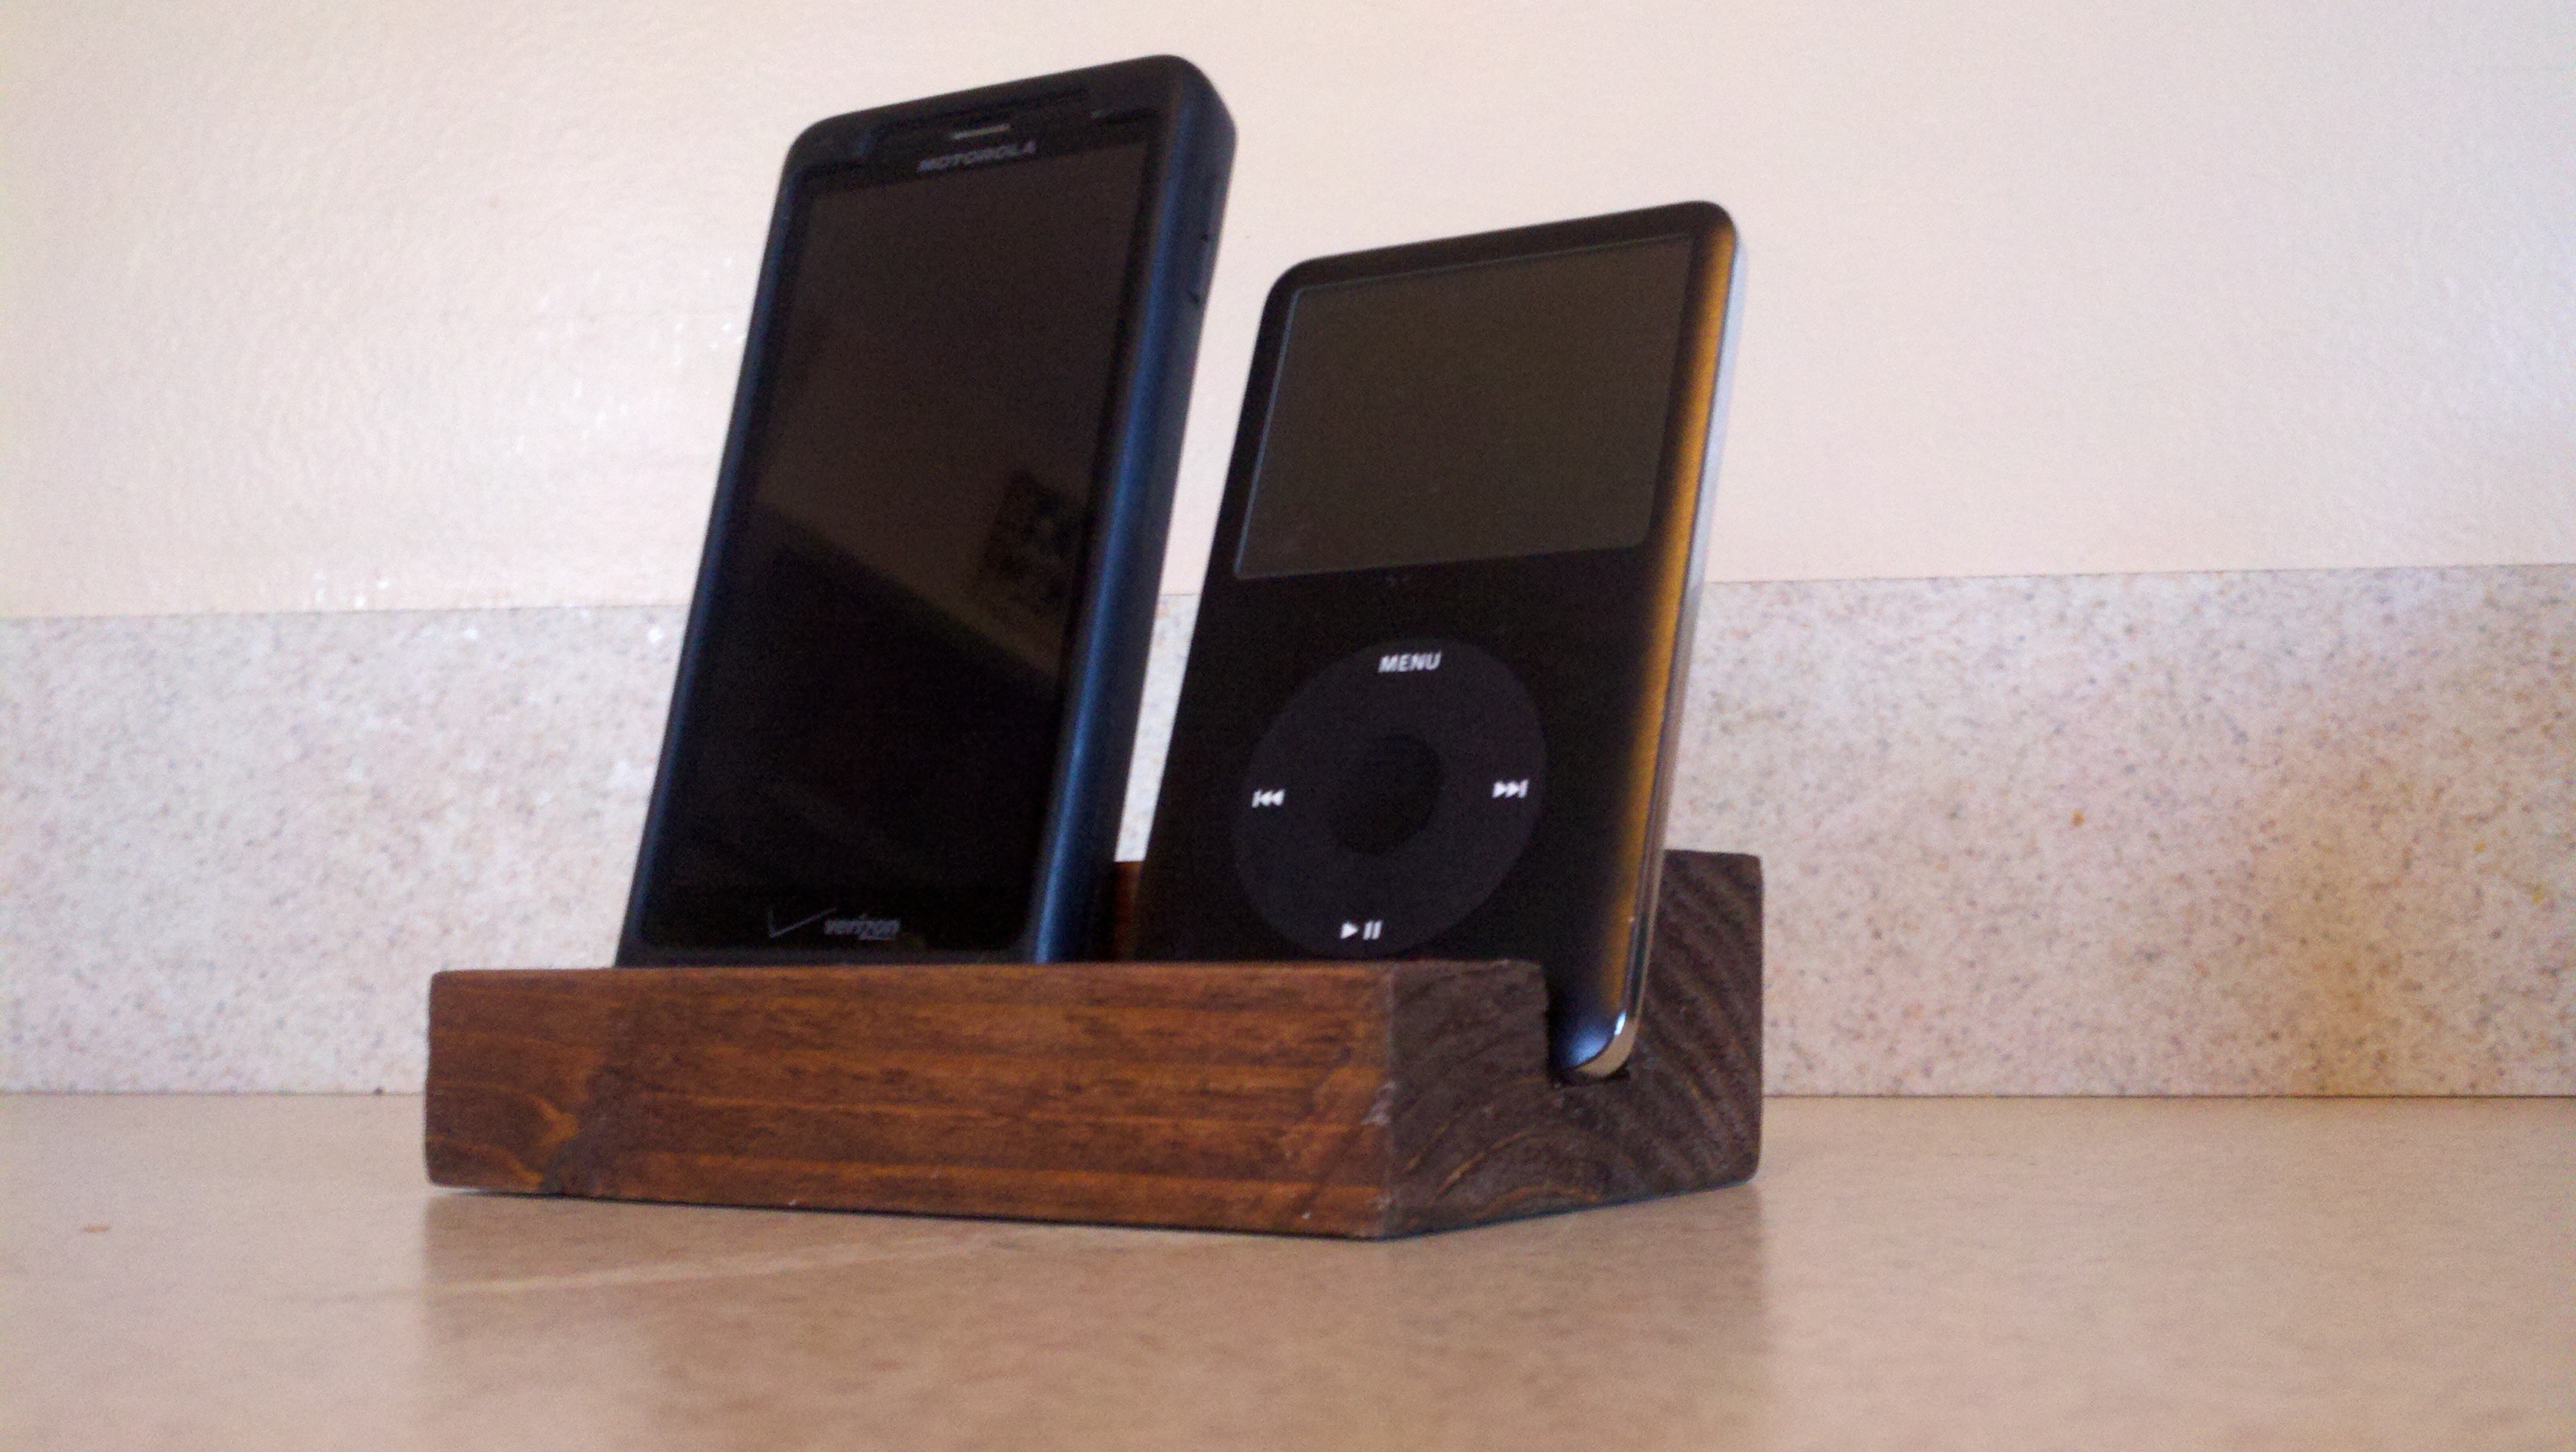
A few weeks back, I wrote a blog post called Creating (Storage) Space, about the new storage I built in the top of my garage. In order to get some of the new structure in place, I had to cut down some old 2x4 beams and, instead of throwing them away, I hung on to them to see if I could figure out a good use for them. I wasn't sure what I was going to use them for until I went to visit the Coastal Research Center and saw the nifty little phone holder that @shhhoward made for himself and @thecurrentwave. It looks very similar to the image above. With a couple quick rips and dados on the table saw, the old 2x4's were cut to size and given new life. Reduce, reuse, recycle - any chance you get.


[slideshow]

19 January 2012

Two Weeks Down - 500 days to go

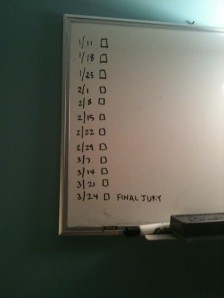
So we are now done with our second week of classes for the term, or 18.2% of the way complete, depending how you look at it. I am also told, there are only 506 days until graduation!!!

MOVING DAY!


Hi Everyone! First off, thanks for following along and reading these posts. I looked at my stats the other day and had 5,000 hits! I'm sure that's not that big compared to other blogs, but it was cool to see that many reads. So, for that, THANK YOU!

Having said that, I'm going to be moving my blog to a new site. Same type of posts and content, same archives, new site. Please change your bookmarks, and if you would, subscribe to the new blog. The new site is:


Thanks again and I look forward to sharing new content with everyone and learning from you as well!

15 January 2012

Lexie's Losing It


Does your dog ever do this??? Mine does - every morning after breakfast...


[youtube http://www.youtube.com/watch?v=t7mDW1glbNg]

Lexie's Losing It


Does your dog ever do this??? Mine does - every morning after breakfast...


12 January 2012

11 January 2012

Back to the GRIND

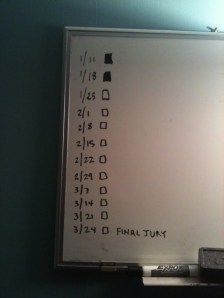
Since the beginning of December, I have gone to the gym more, ran more, finished more projects around the house, brought in more side work, finished more projects in the workshop and wrote more blog posts. Why.... because school was over for the winter break. Well, you may not be hearing or seeing from me for a while, school starts again tonight. Apparently, as you can see from below, I am not the only one counting the classes left until the end of the term (Thanks Katie). 


The good news is, I am starting to see a light at the end of the tunnel. After this 11 week term, one week spring break, and another 11 week term, classes are over. Then just a Thesis will stand between me and a Bachelor of Architecture degree. I am going to try very hard to keep this positive energy/momentum going even while classes are in session, but there is a good chance nobody will see or hear from me much until the end of this 23 week period. 


Until then, via con Dios, my friends. 


Published with Blogger-droid v1.6.7

08 January 2012

Winter Classic 2012


For the last 5 years, the NHL has had an annual Winter Classic game; and outdoor game, usually played on a ring built in a baseball or football stadium, between two rival teams, right around the New Year's holiday. Since that time, the group of friends I play hockey with on the weekends (aka the Sunday Dangles) have held our own Winter Classic. The only difference is, we usually play on a frozen lake, stream, or pond and, instead of the standard three period game, ours is over when the police come and kick us off. This year, however, through some hard work and good connections of some Checking for Charity volunteers, I had the opportunity to play on the actual Winter Classic rink at the Citizen's Bank Ballpark in Philadelphia. From the pre- and post-game tailgating activities, to the using of the visiting teams locker room, to the walk out through the dugouts onto the ice and the actual 60 minutes of play, this was one of the greatest experiences of my life. Definitely something I won't soon forget, especially since we came away with a win!


Creating (Storage) Space

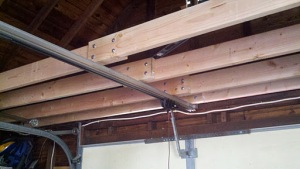
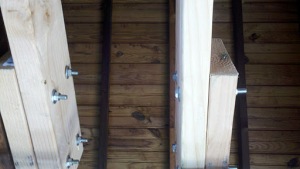
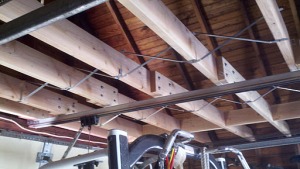
With a few days off between Christmas and the New Year, it was time to get some much needed work done in the workshop. In this case, I needed to upgrade and expand on some of the overhead storage areas in the workshop. Since we moved in, we've been laying pieces of plywood across the existing 2x4 beams. The beams span about a 15'3" width, and are not load bearing, but limit the weight of storage it can hold. Additionally, being over 50 years old, some of the beams were cracking and not up to par for bearing any weight. Since I had a couple days off, I thought it would be a good opportunity to build new 2x6 beams at 16" O.C. for the first 8' of the garage. The only tricky, given the width of the span, the height of the ceiling, and the location of existing structure, it wasn't possible to cut a single 15-foot beam and get it into place. For that reason, I needed to take 2- 2x6's and overlap them approximately 9 inches, and bolt together with 3/8" lag bolts. I used joist straps and 2x6 blocking to tighten everything up and topped it off with OSB. The result was a workshop (which also acts as a gym) that feels like a new space. No more cramped space with barbells on top of the table saw. The workshop is clean, spacey and ready for 2012... looking forward to building some new and interesting creations, and wrapping up this pesky architecture degree. 


Beam connections were thought about (and run by a structural engineer) prior to building.

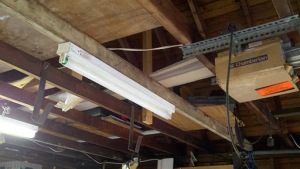
Existing framing/storage

More existing

Materials - the hurricane tie downs were used to connect the beams to the walls.

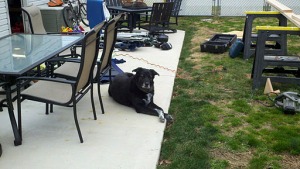
Prince - ready for a long day in the shop.

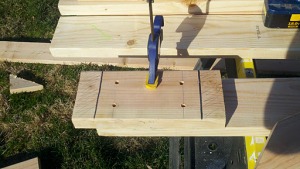
Since I was hanging the beams by myself, it was easier to build a template, then pre-drill the holes for one of the beams.

The day I was hanging the beams, there were two shop managers looking over my shoulder to make sure it was done properly and everything was level.


Closeup of bolted connection


Finished product, from below

Finished project, from above


Published with Blogger-droid v1.6.7